Add/Edit Groups
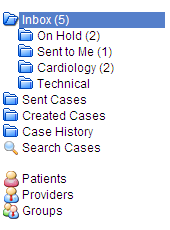
Step 1: To add/edit groups, click on the Groups link in the first column.
The Groups window opens.
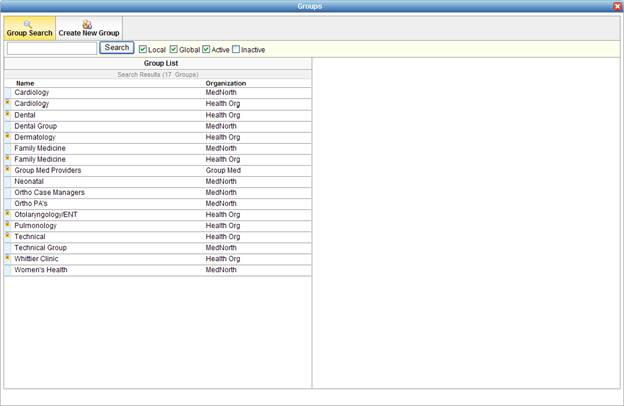
Note that if a group has a lock symbol next to its name, then the group is from a different organization and cannot be edited.
Step 2: Search for a group to locate an existing profile (you can narrow the search results with the check boxes next to the button). If you are creating a new group, click on the Create New Group link. If you are editing an existing group, locate the group in the list and click on the name (if the group is on your server), then click the Edit link. The group details open in the second half of the screen.
Step 3: Enter/edit information for the group.
All information with a red asterisk is required.
Active: Groups cannot be deleted. They can, however, be made inactive.
Type: Type can either be local or global. For a discussion on the difference between the two, refer to the Local vs. Global Providers and Groups write-up.
Providers: The first column is a list of all available providers. The second column lists providers in the group. Move providers back and forth between the two columns with the arrow buttons.
Step 4: Click on the button. The group is created/updated.